-40%
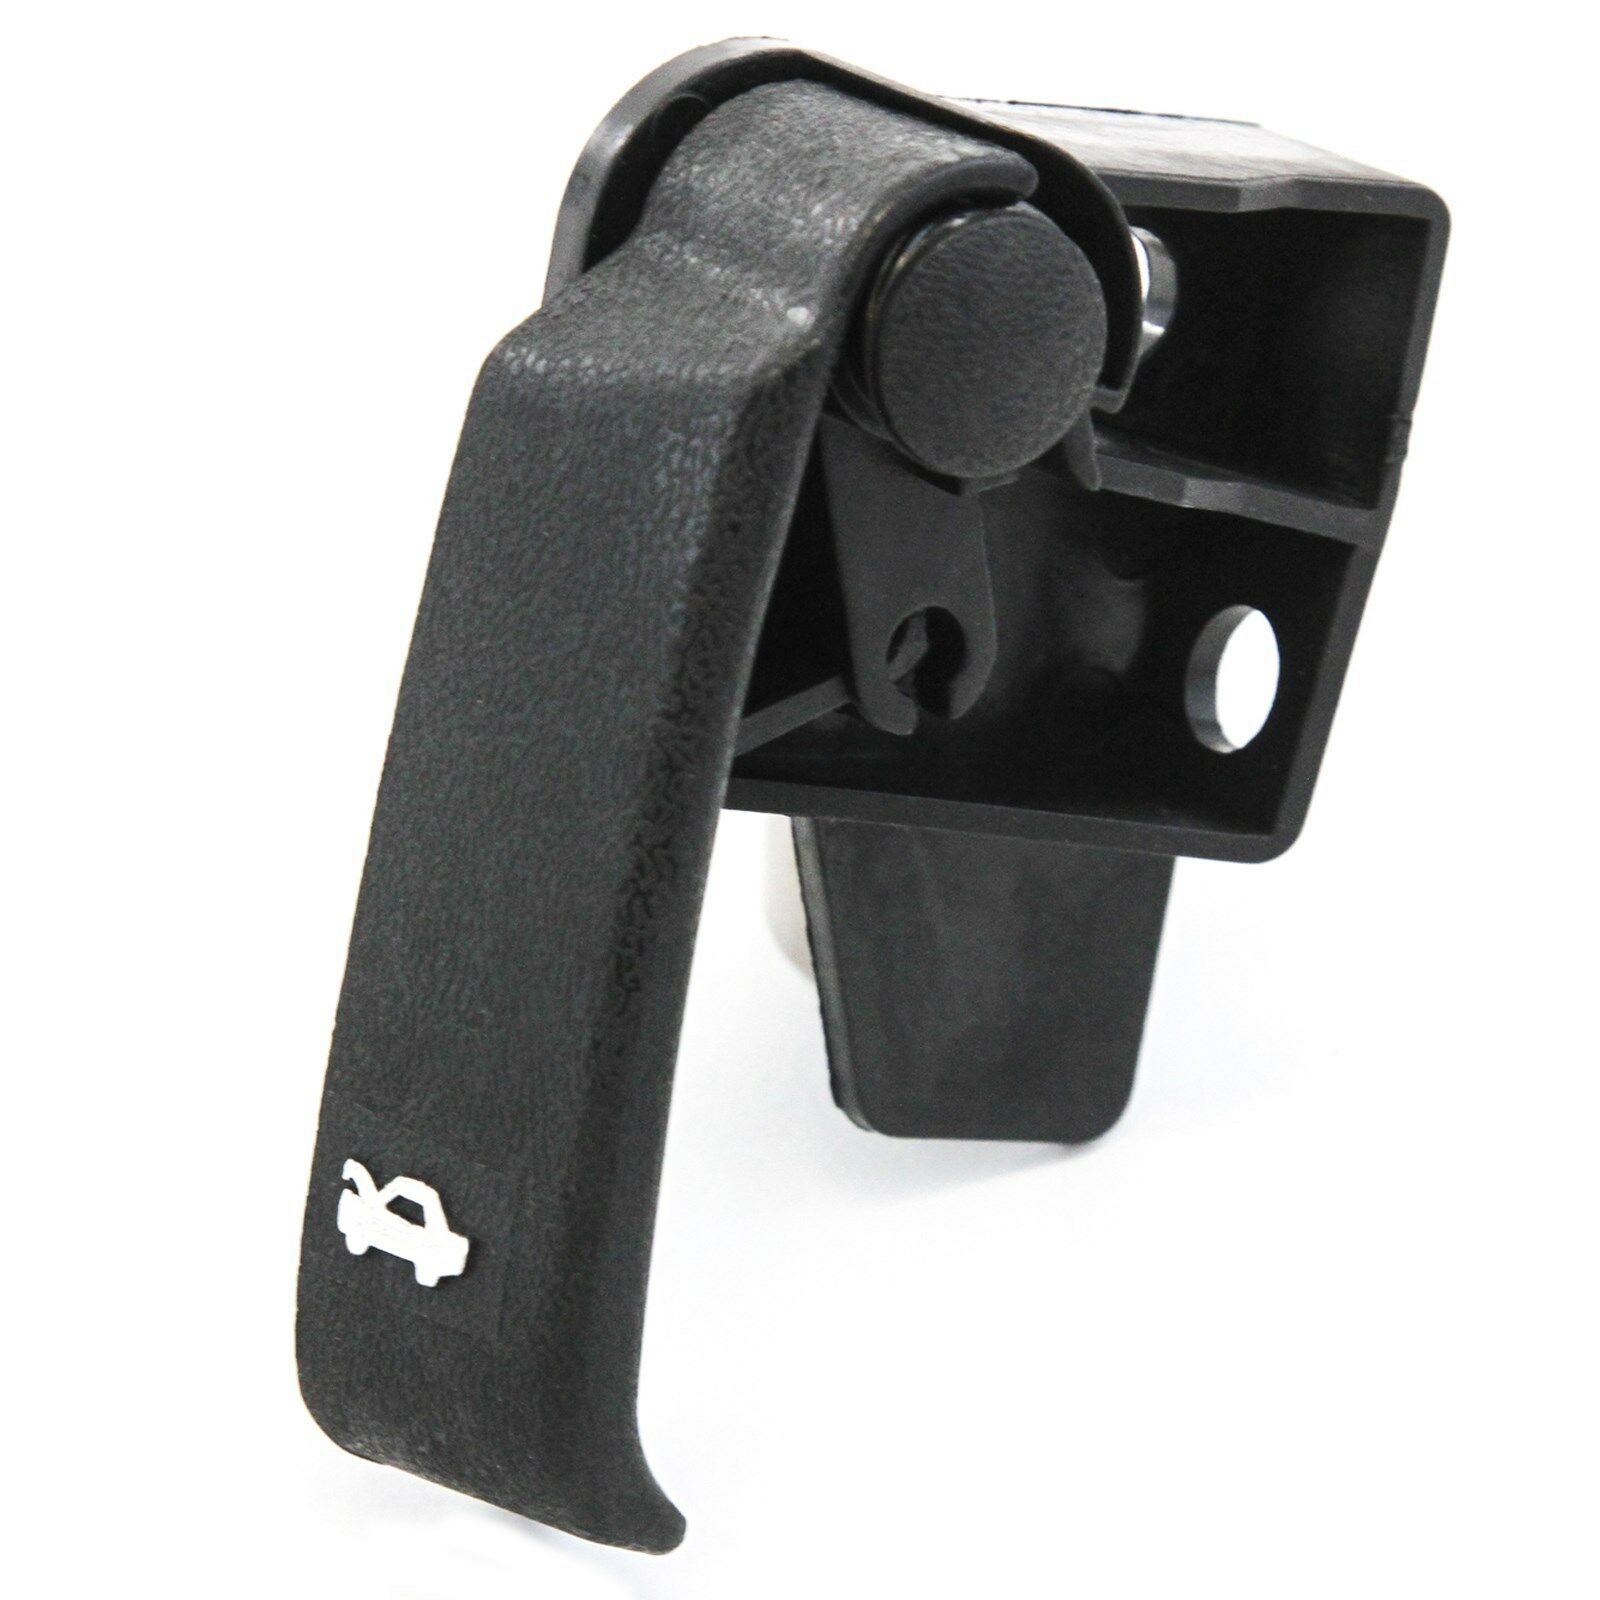
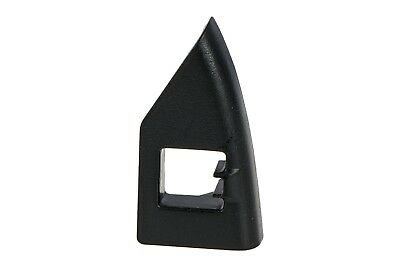
05-09 Chevy Uplander Glove Box Compartment Hinge 2005-2009 OEM with Nuts & Bolts
$ 23.76
- Description
- Size Guide
Description
Uplander Glove Box HingeUsed in good condition.
Has minor cosmetic flaws like scratches, scrapes or scuffs you would normally expect to find on a used item.
Includes 5 screws and nuts to replace the rivets.
A web search may yield a video for you to watch.
Required Tools:
Flat screwdriver
Phillips screwdriver or else a 7mm socket and rachet
Electric drill with a 3/16" inch bit
Needle nose pliers or vise grips.
3/8" inch wrench.
Removal Instructions:
Remove the panel underneath the glove box.
3 Black 3/4" inch pan head bolts hold it in place.
Use a flat screwdriver to pry a little and slip the prongs of a pair needle nose pliers on either side of a bolt.
Push down on the handle of the needle nose pliers to remove each bolt.
Remove 2 phillips screws along the bottom of the glove box hinge.
Remove 2 phillips screws inside the glove box.
Remove the small black cabin air filter access door inside the glove box.
Put your fingers inside the left side of the access door opening.
Yank backward to loosen the 1 retainer clip on the left side of the glove box assembly.
Often times the 2 retainer clips on the right are also loosened.
Skip steps 1 to 5 if you can remove the entire glove box assembly at this point.
1) Open the front passenger door.
2) Use the flat screwdriver to remove the fuse access panel.
3) 3 Retainer clips hold it in place.
4) Use both hands to grab the glove box assembly on the far right.
5) Yank backward to loosen the 2 retainer clips on the right side of the glove box assembly.
Pull the entire glove box assembly out of the dashboard.
Some models have a strip of masking tape behind the glove box to hold it in place.
Some models have a lamp inside the glove box. Leave it in place or else pry a black tab to disconnect the wiring harness.
Hold the 'ears' of a rivet with the vise grips or needle nose pliers.
Drill through the 5 rivets with your electric drill and 3/16" inch bit.
The rivets may fall apart. Otherwise, twist the vise grips or pliers for removal.
Remove 4+2=6 phillips screws on the glove box door.
Use a flat screwdriver to pry 2 tabs on the glove box door to remove the rectangular portion.
Installation Instructions:
Install the 4+2=6 phillips screws on the glove box door.
Install the 5 replacement phillips screws and nuts where the rivets were.
For some models reconnect the glove box lamp wiring harness.
Align the 3 retainer clips and push the fuse access panel into place.
Align the 3 retainer clips and push the glove box assembly firmly into place.
Install the small black cabin air filter access door inside the glove box.
Install 2 phillips screws inside the glove box.
Install 2 phillips screws along the bottom of the glove box hinge.
Install 3 black 3/4" inch pan head bolts under the glove box assembly to hold the panel in place.
► Item Condition: Used in good condition with minor cosmetic flaws.
► Warranty: 30 Days
► Visit our eBay store OnLineCentral to view more automotive accessories.
► Thank you for looking.


